Tips For Lighting In Food Photography
Food photography is a popular genre in the world of photography. These days, there is an increasing demand for high-quality and visually appealing food photographs. Lighting helps with making food look appetizing and enticing to viewers. In this guide, we will discuss some tips for lighting in food photography to help you capture mouth-watering images.
Use natural light whenever possible:
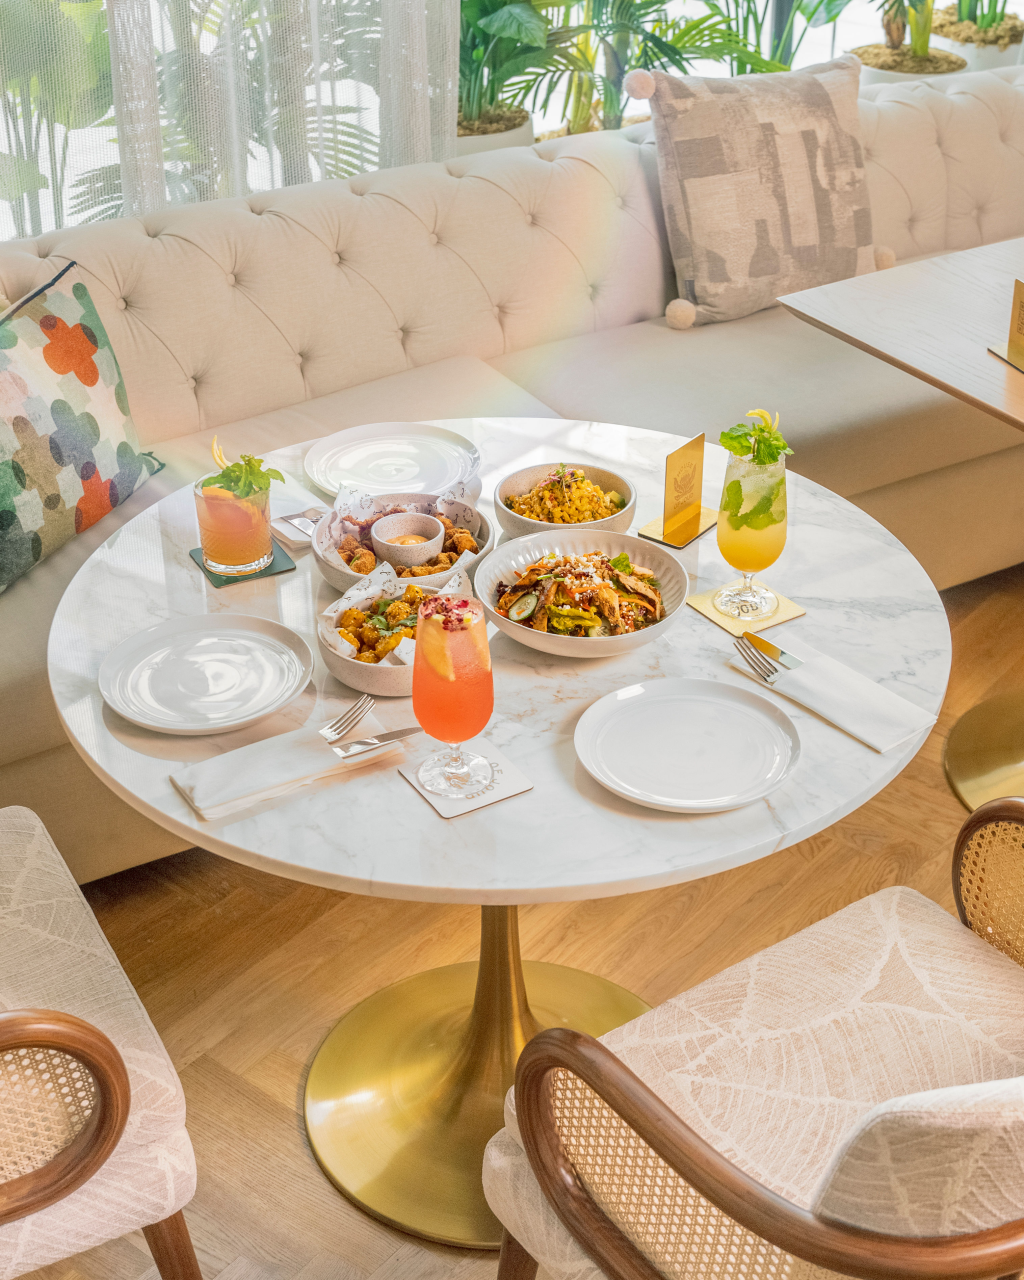
Daylight produces soft and even lighting, which works well for food photography. Positioning food near a window helps in achieving a bright and natural effect. A sheer curtain diffuses harsh sunlight, preventing strong shadows. Early morning or late afternoon light provides a warm and balanced look.
Control shadows for a softer effect:
Shadows add depth to food photos, but harsh ones may cause distractions. Softening shadows improves the overall appearance of the image. A white reflector or foam board placed opposite the light source bounces light back onto the subject, reducing dark areas.
Adjust the angle of light:
The direction of light changes how food appears. Side lighting highlights textures, making dishes look more detailed. Backlighting works well for drinks and translucent ingredients, adding depth and dimension. Experimenting with different angles helps in achieving the desired effect.
Use artificial light when needed:
Natural light is not always available, especially in low-light conditions. A softbox or LED panel provides consistent lighting without harsh shadows. Choosing a light with adjustable brightness and color temperature helps in matching the desired mood of the photo.
Avoid overhead lighting:
Ceiling lights often create uneven lighting and unwanted shadows. Moving the light source to the side or behind the food improves the overall balance. Soft, directional lighting improves the shape and texture of the dish.
Keep colors true to life:
The color of light affects how food looks in photos. Warm lighting makes food appear rich and inviting, while cool lighting may create an unnatural effect. Adjusting white balance in-camera or during editing ensures accurate color representation.
Make small adjustments for better results:
Minor changes in lighting setup improve the final image. Slightly moving the light source, using diffusers, or adjusting reflectors helps in achieving a well-lit photo. Testing different setups before taking the final shot ensures the best results.
Good lighting improves food photography by improving colors and textures. Natural light works well in most cases, while artificial lighting helps in low-light conditions. Small adjustments in angle, shadows, and intensity make a noticeable difference in the final image.